Leo的技术分享

记录开发的点滴

文章 《Spring Cloud 使用 Nacos 作配置中心》 描述了如何在 Spring Cloud 使用 Nacos 作配置中心的使用方法,本文在此基础上,使用 Nacos 作为 Spring Cloud 的注册中心。
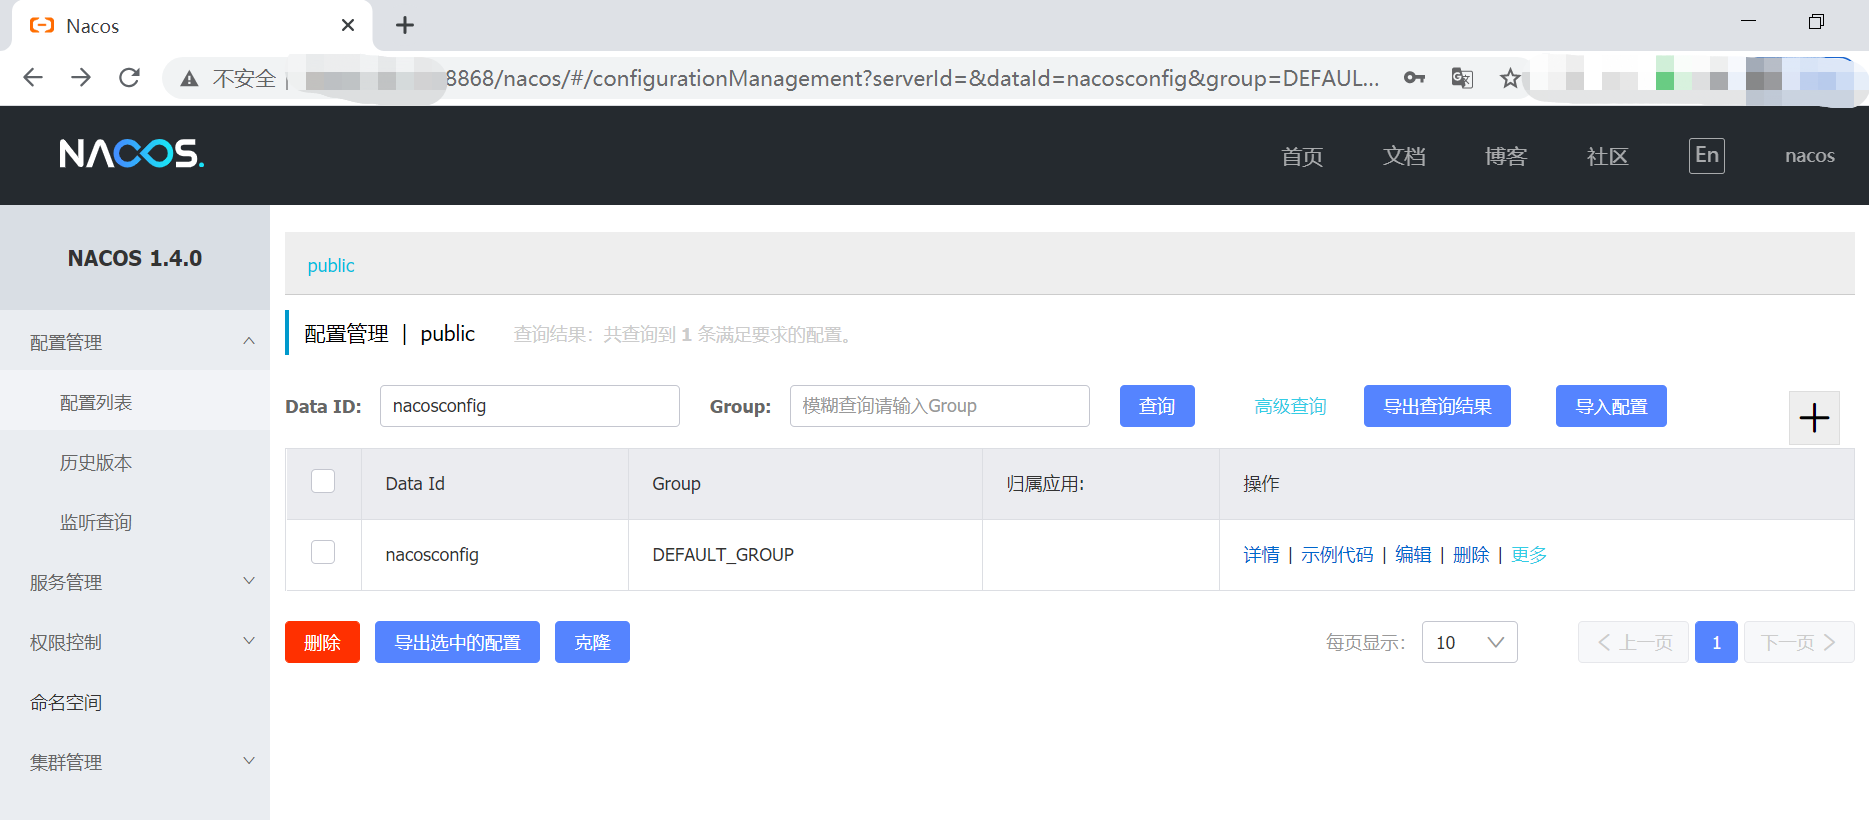
安装 Nacos

为简单起见,这里使用单机版本的 Nacos Server 作为注册中心,安装过程可以参考 《Spring Cloud 使用 Nacos 作配置中心》

服务提供者

服务提供者在文章 《Spring Cloud 使用 Nacos 作配置中心》 源代码 springcloudstudy 基础上进行开发。其中,springcloudstudy 作为父项目,服务提供者 nacosprovider 作为子项目。

添加 nacosprovider 的依赖:

1
2
3
4
5
6
7
8
<dependency>
<groupId>com.alibaba.cloud</groupId>
<artifactId>spring-cloud-starter-alibaba-nacos-discovery</artifactId>
</dependency>
<dependency>
<groupId>org.springframework.boot</groupId>
<artifactId>spring-boot-starter-web</artifactId>
</dependency>
阅读全文 »

Nacos 是 Spring Cloud Alibaba 核心组件之一,可以用作 Spring Cloud 的注册中心和配置中心。

本文讲述如何在 Spring Cloud 中使用 Nacos 作为配置中心。

安装 Nacos

与 Spring Cloud Config 和 Eureka 的使用方式不同,Nacos Server 需要独立部署。Nacos Server 的部署方式包括单机模式和集群模式,集群模式可以解决 Nacos 高可用的问题。

为简单起见,本文采用单机模式 Nacos Server 作为配置中心。单机模式搭建过程比较简单,可以通过下载源代码编译方式安装和二进制可执行文件安装。

具体安装步骤可以参考官方文档:

https://nacos.io/zh-cn/docs/quick-start.html

安装完成后,使用用户 nacos 和密码 nacos 访问 Nacos 控制台:

图中可以看到访问端口被改成了 8868,而不是 8848。Nacos Server 启动端口的修改也比较简单,修改其配置文件 conf/application.propertie 中端口配置 server.port 即可。

阅读全文 »

阿里巴巴开源的 Druid 是 Java 语言的数据库连接池,提供了强大的监控和扩展功能。

本文讲述如何在 Spring Boot 项目中使用 Druid 数据库连接池。

教程基于文章 《Spring Boot MyBatis 学习教程》 配套的源代码进行扩展,添加 Druid 数据库连接池和监控的功能。如果读者对于 Spring Boot 如何使用 MyBatis 还不了解,可以先完成文章 《Spring Boot MyBatis 学习教程》 的阅读和学习。

添加依赖

pom.xml 文件添加当前最新版本的 Druid 依赖:

1
2
3
4
5
<dependency>
<groupId>com.alibaba</groupId>
<artifactId>druid-spring-boot-starter</artifactId>
<version>1.2.4</version>
</dependency>

形成新的 pom.xml 文件:

阅读全文 »

MyBatis 是一款优秀的持久层框架,它支持自定义 SQL,存储过程以及高级映射。MyBatis 可以通过简单的 XML 或注解来配置和映射原始类型、接口和 Java POJO(Plain Old Java Objects)为数据库中的记录。

本文讲述如何在 Spring Boot 框架中基于 XML 方式使用 Mybatis。

创建 MySQL 数据表

本文采用 MySQL 数据库作为数据源,创建用户表 user

1
2
3
4
5
6
7
8
9
CREATE TABLE `user`
(
`id` int(32) NOT NULL AUTO_INCREMENT,
`name` varchar(32) NOT NULL,
`passwd` varchar(50) NOT NULL,
PRIMARY KEY (`id`)
) ENGINE = InnoDB
AUTO_INCREMENT = 1
DEFAULT CHARSET = utf8;

插入一行数据:

1
2
insert into user (name, passwd) values ('leo', '123');
commit;

创建 Spring Boot 项目

本文采用 IntelliJ Idea 的 Spring Initializr 向导来创建 Spring Boot 项目,过程比较简单,此处不再赘述。

创建后的 pom.xml 文件如下:

阅读全文 »

Pimpl(pointer to implementation, 指向实现的指针)是一种常用的,用来对“类的接口与实现”进行解耦的方法。这个技巧可以避免在头文件中暴露私有细节(见下图 1),因此是促进 API 接口与实现保持完全分离的重要机制。但是 Pimpl 并不是严格意义上的设计模式(它是受制于 C++ 语言特定限制的变通方案),这种惯用法可以看作桥接设计模式的一种特例。

图 1: Pimpl 惯用法:这里的公有类拥有一个私有指针,该指针指向隐藏的实现类

在类中使用 Pimpl 惯用法,具有如下优点:

  • 降低耦合
  • 信息隐藏
  • 降低编译依赖,提高编译速度
  • 接口与实现分离

为了实现 Pimpl,我们先来看一种普通的类的设计方法。

阅读全文 »

Spring Boot 提供了非常优雅地使用多线程执行任务的方式,本文说明 Spring Boot 项目如何利用 ThreadPoolTaskExecutor 来使用多线程。

创建 Spring Boot 项目

使用 IntelliJ Idea 创建向导创建一个 Spring Boot 项目,或者在 Spring 官网创建一个 Spring Boot 项目,地址:https://start.spring.io/。由于创建过程比较简单,此处不再赘述。
其中,pom.xm 文件如下:

1
2
3
4
5
6
7
8
9
10
11
12
13
14
15
16
17
18
19
20
21
22
23
24
25
26
27
28
29
30
31
32
33
34
35
36
37
38
39
40
41
42
<?xml version="1.0" encoding="UTF-8"?>
<project xmlns="http://maven.apache.org/POM/4.0.0" xmlns:xsi="http://www.w3.org/2001/XMLSchema-instance"
xsi:schemaLocation="http://maven.apache.org/POM/4.0.0 https://maven.apache.org/xsd/maven-4.0.0.xsd">
<modelVersion>4.0.0</modelVersion>
<parent>
<groupId>org.springframework.boot</groupId>
<artifactId>spring-boot-starter-parent</artifactId>
<version>2.4.1</version>
<relativePath/> <!-- lookup parent from repository -->
</parent>
<groupId>me.leehao</groupId>
<artifactId>async-method</artifactId>
<version>0.0.1-SNAPSHOT</version>
<name>async-method</name>
<description>Demo project for Async Method</description>

<properties>
<java.version>1.8</java.version>
</properties>

<dependencies>
<dependency>
<groupId>org.springframework.boot</groupId>
<artifactId>spring-boot-starter-web</artifactId>
</dependency>

<dependency>
<groupId>org.springframework.boot</groupId>
<artifactId>spring-boot-starter-test</artifactId>
<scope>test</scope>
</dependency>
</dependencies>

<build>
<plugins>
<plugin>
<groupId>org.springframework.boot</groupId>
<artifactId>spring-boot-maven-plugin</artifactId>
</plugin>
</plugins>
</build>
</project>
阅读全文 »

OpenResty 是一款基于 Nginx 和 Lua 的高性能 Web 框架,可以方便地基于 Nginx 进行二次开发,以实现超高并发 Web 网关,Web 服务等。

本文讲述如何在 Linux 安装和使用 OpenResty。

安装 OpenResty

OpenResty 官方提供源代码编译安装以及二进制包安装方式,本文采用源代码编译安装方式。有关二进制包安装方式,可以参考链接 https://openresty.org/cn/linux-packages.html

在 OpenResty 下载页面 下载最新版本的 OpenResty,这里笔者下载的是 openresty-1.19.3.1.tar.gz

然后依次执行命令:

1
2
3
4
5
tar zxvf openresty-1.19.3.1.tar.gz
cd openresty-1.19.3.1
./configure
make
make install

注意执行 make install 需要 root 权限。
可以看到 OpenResty 被默认安装到了 /usr/local/openresty/ 目录。

启动 Nginx

阅读全文 »

最近在研究如何利用 Nginx 实现高性能网关,这里记录一下开发 Nginx 扩展模块 Hello World。

编译安装 Nginx

下载 Nginx 源代码,解压,进入源代码目录:

1
2
3
wget http://nginx.org/download/nginx-1.13.10.tar.gz
tar zvxf nginx-1.13.10.tar.gz
cd nginx-1.13.10

编译,安装 Nginx 到指定目录:

1
2
3
./configure --prefix=/home/lihao/code/nginx/nginx-1.13.10/bin
make
make install

configure 命令中使用了参数 --prefix=/home/lihao/code/nginx/nginx-1.13.10/bin 是指将 Nginx 安装到目录 /home/lihao/code/nginx/nginx-1.13.10/bin

修改 /home/lihao/code/nginx/nginx-1.13.10/bin/conf/nginx.conf,调整 Nginx 监听端口为 5123

1
2
3
server {
listen 5123;
server_name localhost;

启动 Nginx:

1
2
cd /home/lihao/code/nginx/nginx-1.13.10/bin
./sbin/nginx
阅读全文 »

WebService 对外提供 SOAP 接口,SOAP 接口基于 HTTP + XML,因此,可以使用 Nginx 作用 WebService 的反向代理,以实现 WebService 请求的负载均衡功能。

本文使用 docker-compose 部署 nginx,有关 docker-compose 的使用,可以参考 《Docker Compose 入门教程》

文件目录结构如下:

1
2
3
4
5
6
7
.
├── conf.d
│ └── ksb.conf
├── docker-compose.yml
└── log
├── access.log
└── error.log

其中,

  • ksb.conf:nginx 的 server 配置文件
  • docker-compose.yml:docker-compose 使用
  • access.log:nginx 访问日志
  • error.log:nginx 异常日志

docker-compose.yml 文件:

阅读全文 »

HTTP/2 具有以下的特性:

  • 采用二进制传输数据
  • 基于流的多路复用
  • 头部压缩
  • 服务端推送

由于 HTTP/2 可以提升网站访问速度,因此,本人决定对个人站点 Leo 的博客 进行 HTTP/2 升级改造。

leehao.me 网站采用 Ngninx + Hexo + NexT 实现,有关部署细节可以参考之前的文章 《在阿里云部署 Hexo 网站》 以及 《Hexo 网站配置免费阿里云证书》

Nginx 从版本 1.9.5 支持 HTTP/2,因此,为使网站支持 HTTP/2,只需要对 nginx 配置进行调整。先查看 Nginx 版本:

1
nginx -v

输出:

nginx version: nginx/1.12.2

说明 nginx 版本已符合要求。查看 nginx 是否已安装 http 2 模块:

1
nginx -V

可以看到 --with-http_v2_module 模块输出:

…–with-http_v2_module…

查看 openssl 版本:

1
openssl version
阅读全文 »
0%